Solution Showcase
A Gallery of our Measurement Solutions
Digital Metrology can help you take on your toughest measurement challenges. Check out these examples of where custom metrology systems have been developed to address unique customer needs.
3D surface segmentation with OmniSurf3D

Gasket sealing analysis with OmniSurf
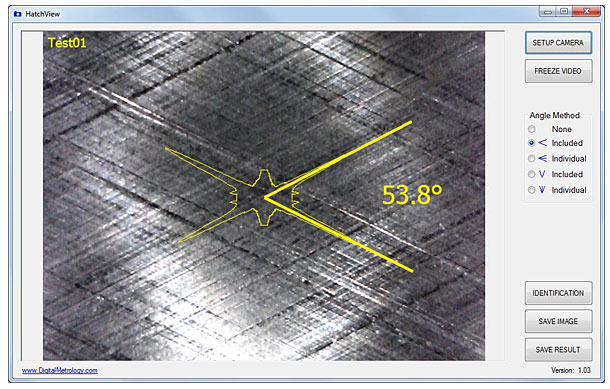
Crosshatch analysis with HatchView
Logarithmic bearing profile analysis with ProfileMaster

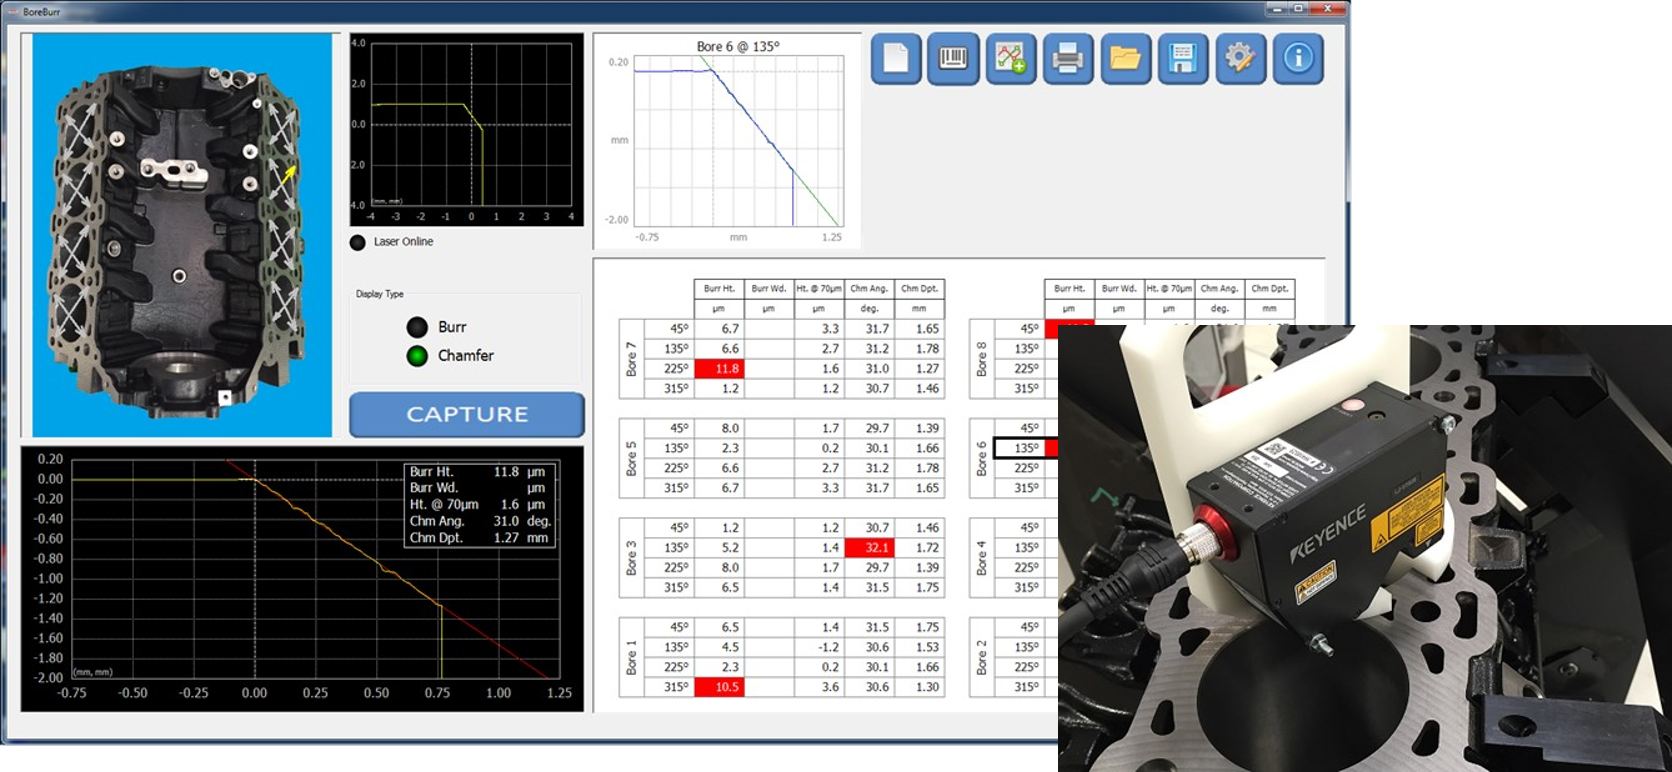
Laser-based burr measurement
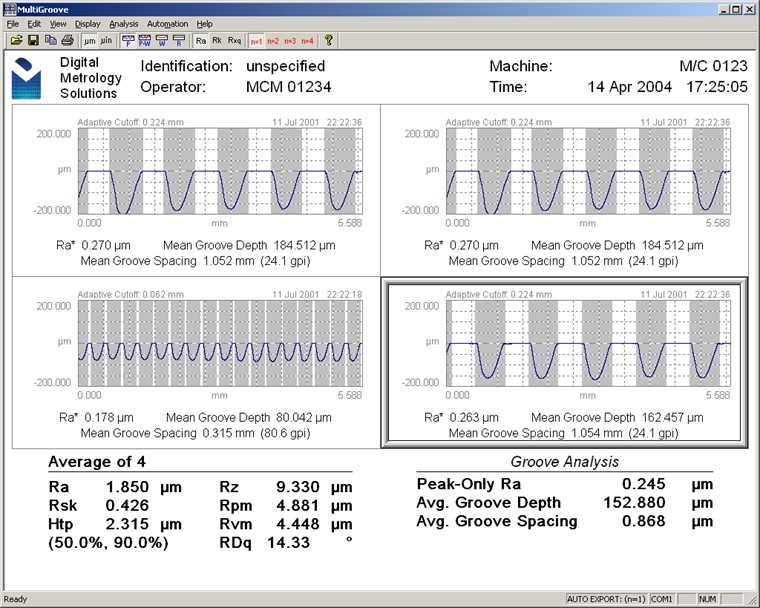
Multi-profile surface texture

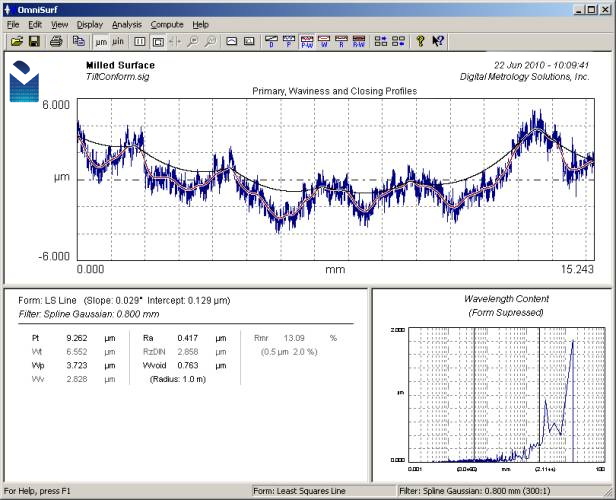
Feature detection and surface texture
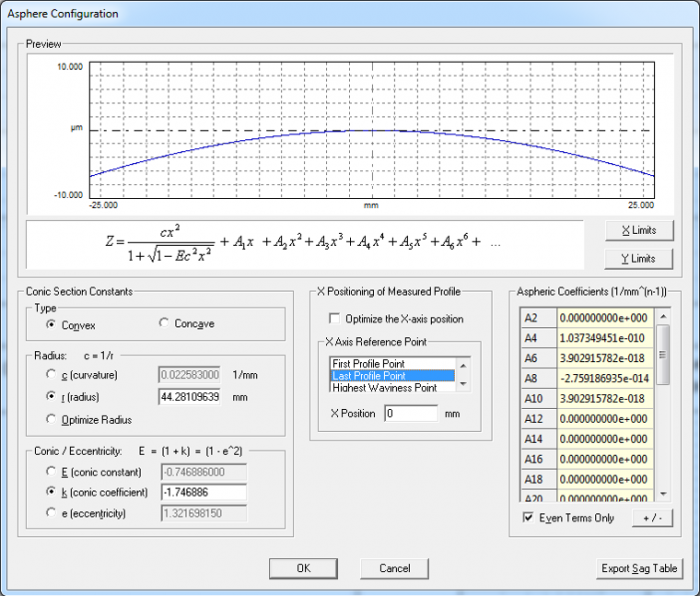
Aspheres and aspheric geometry analysis
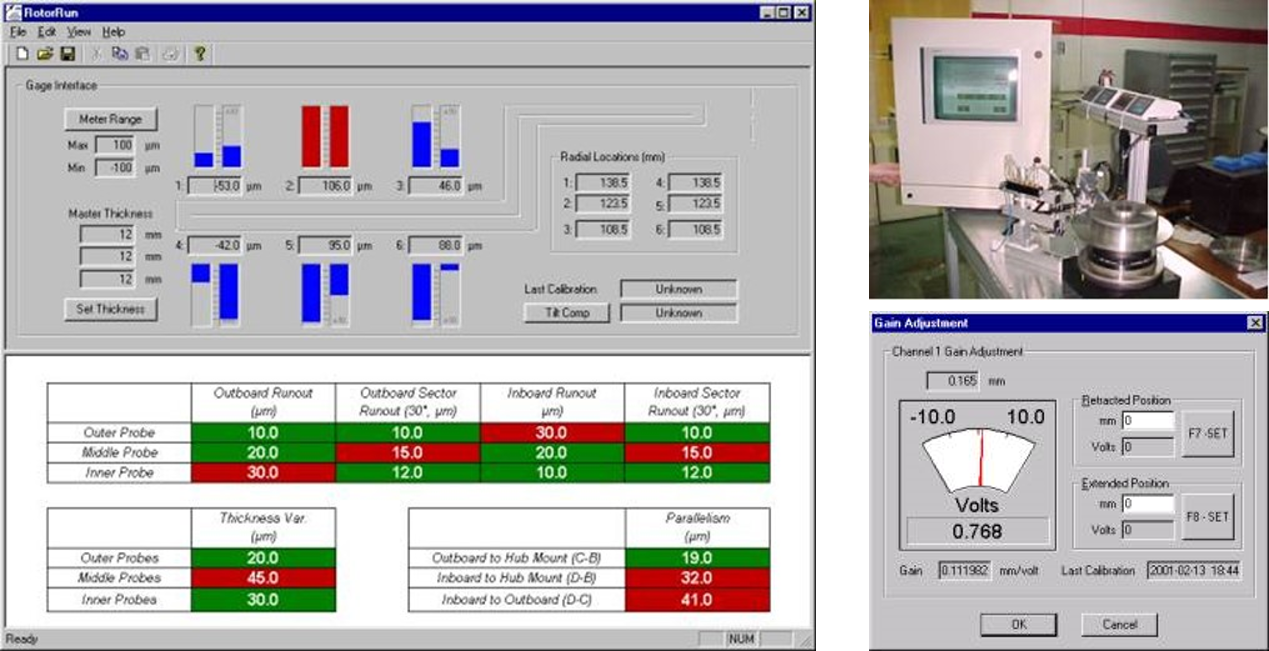
Production brake geometry and texture measurement
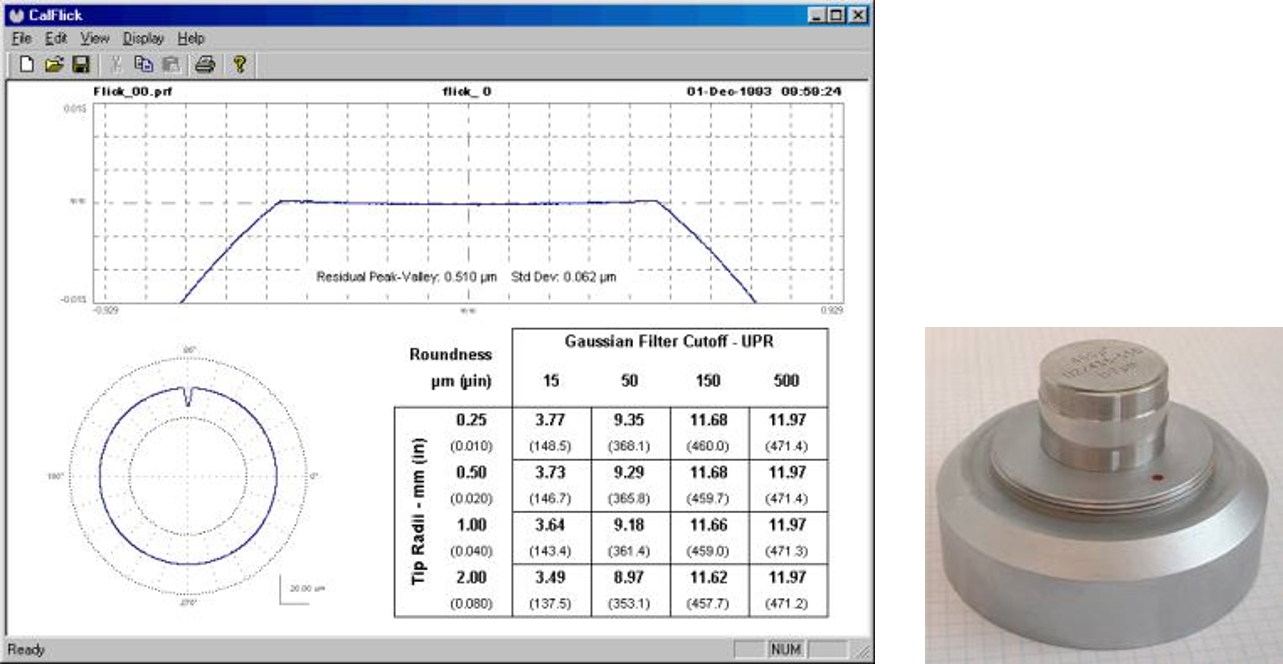
“Flick” standard calibration
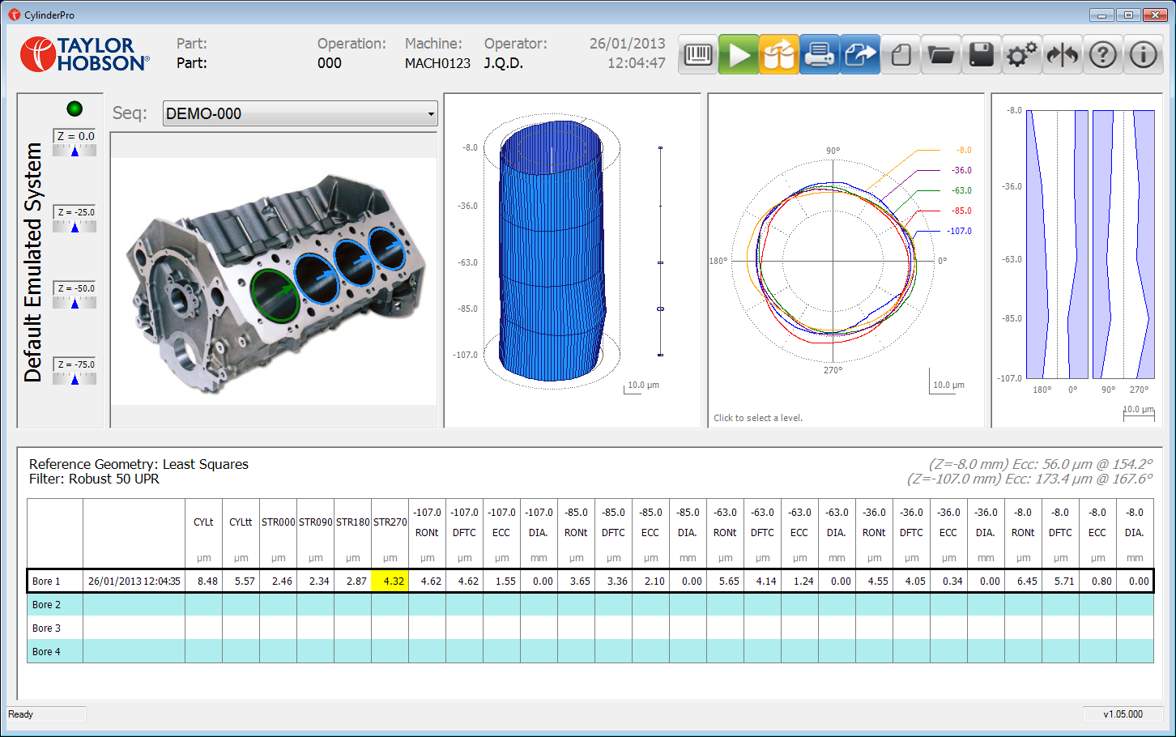
Cylindricity
Hardness “case depth”
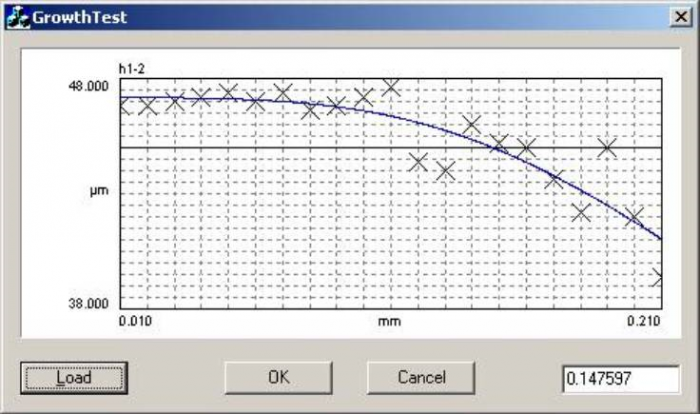
Profile segment detection and analysis
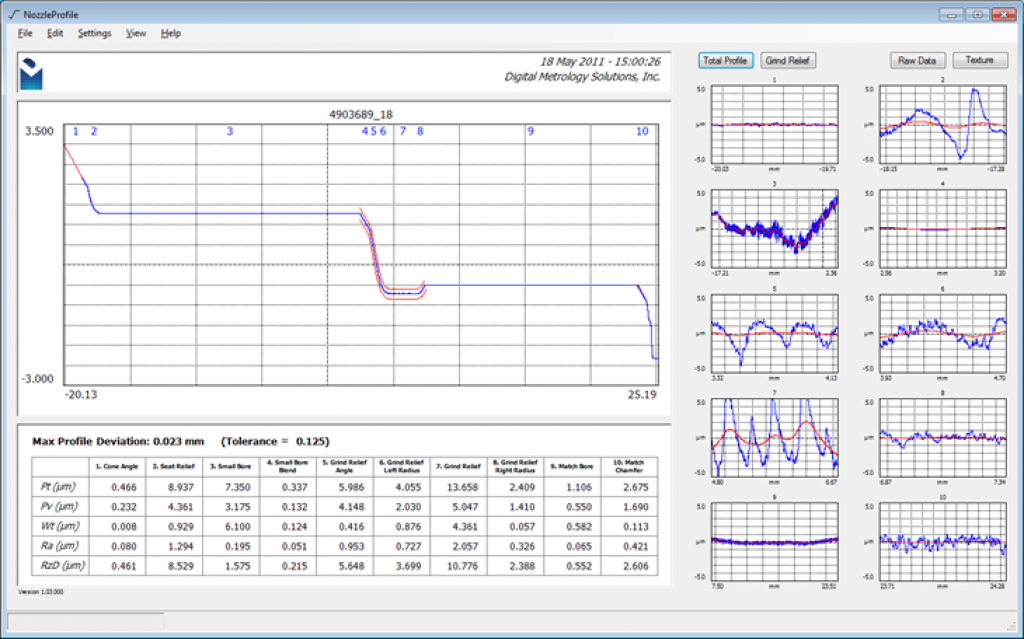
In-vehicle metrology
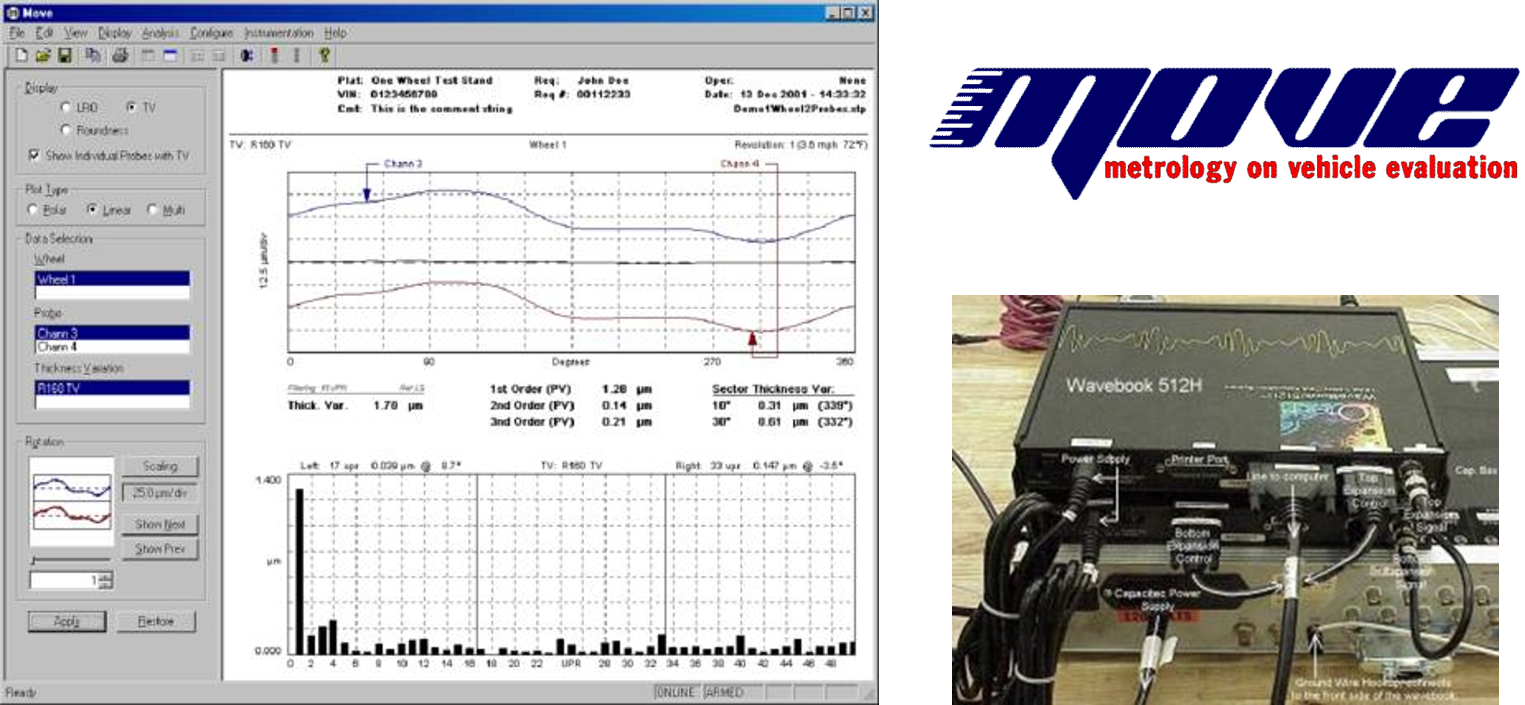
Ball contact analysis

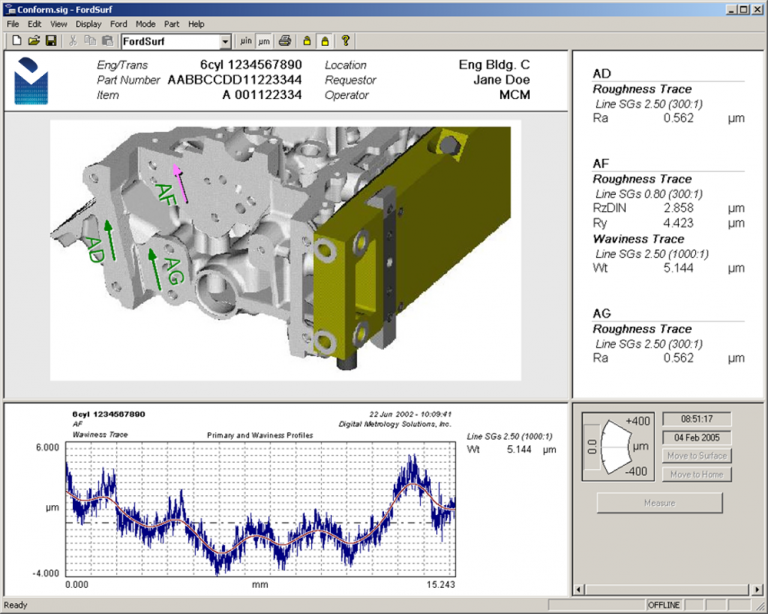
Engine block surface texture measurement and analysis
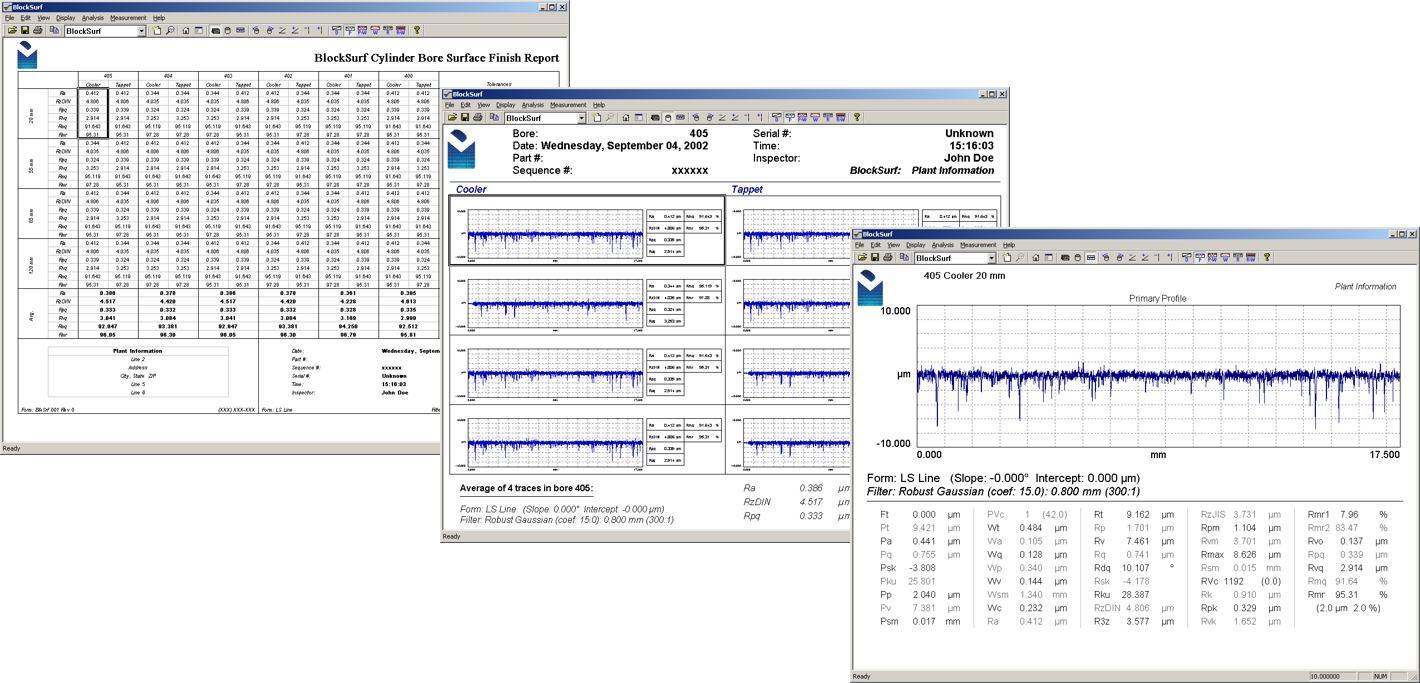
Guided sequence surface texture measurement
Gear tooth waviness

Multi-probe roundness and harmonics
Digital Metrology recently teamed up with Accurate Gauging & Instruments in Pune, India. The company was investigating methods for shop floor measurement of roundness and the harmonic details of a 900 mm long crankshaft.

Digital Metrology provided the mathematical analysis to perform “three-probe” measurements on the shafts. Unlike methods which require a precision spindle, the three-probe approach decouples the form errors of the component from the movement associated with the rotation. It’s a fast, accurate way to measure roundness in a production environment, without time-consuming levelling and alignment.
The completed machine provides fully automated measurement of seven journals and six pins.

